How I Dim My Hue Lights with a Plex Webhook
Kyle Niewiada on October 18, 2018
5 Minute Read | Small project
Updated on December 17, 2018
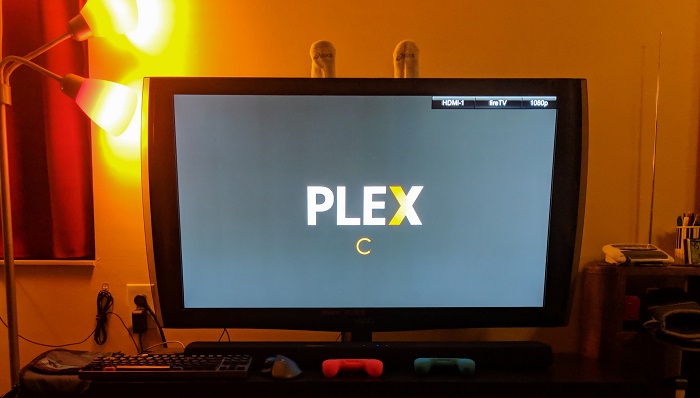
Last week, the Home Assistant project launched webhooks triggers for automations. This means a user could create an endpoint to be hit from an external source and start a task. In my case, I wanted to use webhooks from Plex to dim (or brighten) my lights as quickly as possible.
Problems with other methods
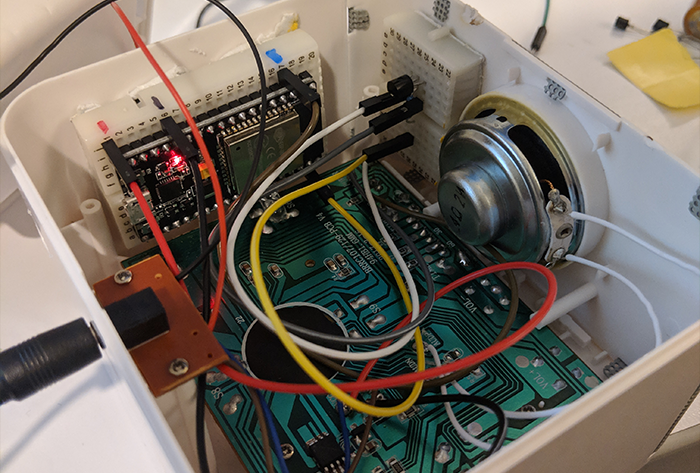
Let me be upfront. Plex webhooks are only available to users to are subscribed to PlexPass. I also want to note that this requires a Home Assistant instance to be set up with the ability to control the lights. In my case, I’m using Hue bulbs because of their fairly open API. Before landing on using webhooks through Home Assistant, I considered a few other options to automate my lights.
HelloHue
One common method of controlling the lighting with Plex playback is using HelloHue. The issue here is that plugins are becoming deprecated with Plex, and I can’t control more complicated automations. For example, I have an automation to make sure my lights won’t dim if I am preparing a meal in the kitchen.
Tautulli
Another common method of controlling lights with Plex is using Tautulli. Tautulli can be set up to watch for certain playback behaviors, filter users, and post an MQTT message to a channel that Home Assistant is watching. This is an OK method, but I found that this introduced a small amount of lag and would require another application to be working at all times if I didn’t want my lighting automations to hiccup.
Node-RED
The last option that I had considered (and used for quite some time), was adding a webhook endpoint inside of Node-RED. This was an OK method as well, but I try to keep things secure. My problem with this method is the following:
- I prefer to avoid exposing local network applications to the internet without it being necessary.
- I prefer to access local network applications with
SSL. If it’s an internal app, I will use a self-signed certificate by my local CA. If it’s an external facing app, I look to sign it with Let’s Encrypt. In my head, this makes me feel a little bit better in case a device on my network is compromised and begins snooping. - The Node-RED webhook endpoint is unable to run both
HTTP&HTTPSat the same time. I’m not quite sure why this occurred, but it may have something to do with the Node-RED implementation I am using. This means I cannot use SSL locally on Node-RED if I want to use the webhook from Plex. - Without setting up a (reverse?) proxy through nginx (or the likes) and using an external CA like Let’s Encrypt, I’m unable to
POSTrequests from Plex webhooks because Plex does not recognize my local CA (and why would it?) causing them to fail.
Sticking with Home Assistant webhooks
That means the solution I chose to use were the newly introduced webhooks for Home Assistant.
My rationale behind this decision is that because I am already exposing Home Assistant externally, and I would prefer not to open another attack vector with Node-RED, I might as well just use the
HTTPSendpoint on Home Assistant. If I was not already exposing Home Assistant externally, I likely would have kept using the non-ssl webhook from Node-RED locally.
On this Home Assistant community post, rossdargan had this great idea to parse the incoming JSON (disguised in a form-data message), and push it back to the local MQTT server so it could be read properly by the automations. I added the following to my automations.yaml and it worked great. I’m still not completely satisfied with the parsing though. I do wish it was using a proper parsing library instead..
Parsing and sending the payload to MQTT
Plex webhooks have a problem where they send their json payload with a Content-Type header of form-data instead of application/json. That’s why we have have to parse the “data” from the payload first, and repost it through a local MQTT channel before being able to interpret it as a json object.
# Home Assistant automations.yaml
- id: '1539725480000'
  alias: Plex Webhook MQTT
  trigger:
    platform: webhook
    webhook_id: !secret plex_webhook
  action:
   - service: mqtt.publish
     data_template:
       topic: 'plex/update'
       payload_template: >
         {{ (trigger.data['payload'] | string)[12:][:-2] | replace ("\\\\", "\\") | replace ("\\\'", "'") | replace ("\\x","?") }}
Receiving the MQTT message
After that automation is set, we can listen to the MQTT channel and check its conditions. In the automation below, I check to see who is watching TV and which player UUID they are using. I’m not sure the best way to find the UUID other than checking the logs or debugging the Plex webhook messages.
Once these conditions are met, I check the playback state of the event being received. If it’s starting/resuming, I flip on a boolean value for plex_playback. If it’s stopping/pausing, I flip that boolean value off.
That boolean value is what I use to determine the playback state for my other automations in Node-RED. In my case, it works like this:
If plex_playback value is turned on, I will check the following conditions in Node-RED before dimming the lights.
Is anyone cooking in the kitchen?If true, don’t dim the kitchen lights.Is this content the morning news?If true, don’t dim any lights. I need to wake up.Is the master light override control on?If true, leave all lights where they are.
If plex_playback value is turned off, I will check the following conditions in Node-RED before brightening the lights.
Is the sun angle lower than 8°If true, don’t brighten the lights. It’s too late at night for that.Is the master light override control on?If true, leave all lights where they are.
Here’s the automation for changing the boolean value:
# Home Assistant automations.yaml
- id: '1539522762000'
  alias: Plex State Toggle
  trigger:
    platform: mqtt
    topic: 'plex/update'
  condition:
    condition: and
    conditions:
    - condition: template
      value_template: "{{trigger.payload_json.Account['title'] == 'PLEX_USER' }}"
    - condition: template
      value_template: "{{trigger.payload_json.Player['uuid'] == 'PLAYER_UUID' }}"
    - condition: template
  action:
    service_template: >
        {% if ((trigger.payload_json.event == 'media.play') or (trigger.payload_json.event == 'media.resume')) %}
          input_boolean.turn_on
        {% elif ((trigger.payload_json.event == 'media.pause') or (trigger.payload_json.event == 'media.stop')) %}
          input_boolean.turn_off
        {% endif %}
    entity_id: input_boolean.plex
After HomeAssistant introduced their Cloud Webhook in
0.84.0, mypayload_templatefor the incoming WebHooks needed to be changed to{{ (trigger.data | string)[154:][:-55] }}until HomeAssistant is able to handle JSON payloads in multipart data WebHooks. It’s a terrible solution and entirely based on assumed headers of the payload, but it works for now.
Conclusion
There you have it. The quickest (non-deprecated) method I could come up with for changing my lights when starting/stopping content on Plex. I’m sure there are ways to improve this. That’s ok, I don’t mind. This was only a weekend project to improve my lighting events. If only Plex states could be monitored as quickly as my Chromecast can be. One can only dream…